My goal of making 52 new recipes this year is off to a very fun start. I love that it’s making me try new recipes instead of making my old standbys over and over again. I’m hoping to have a much larger repertoire of favorites by the end of the year. So far my favorite… Continue reading Beer Batter Cheese Bread
Category: baking
Pumpkin Whoopie Pies
Let’s do a full disclosure right off the bat here, shall we? I’m obsessed with Pumpkin Whoopie Pies. I first had one in Washington DC in early October at a really cute cafe that Josh and I stopped in to get me a coffee fix. That was a Saturday afternoon. I spent all of that… Continue reading Pumpkin Whoopie Pies
Devil’s Food Cupcakes
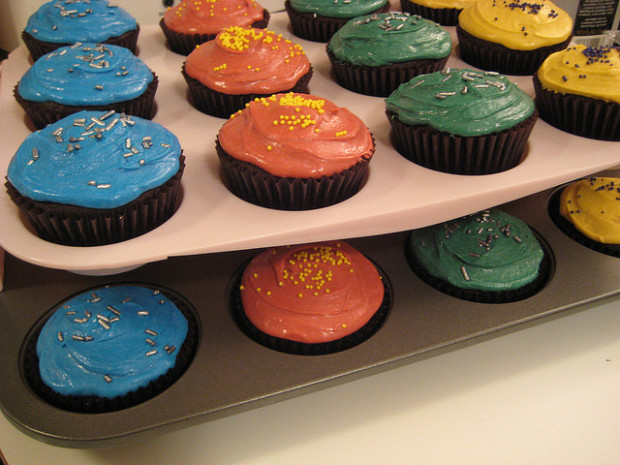
My favorite cupcakes are chocolate cupcakes with vanilla icing. I love the deep chocolate flavor in the cake, balanced by creamy vanilla frosting. But despite it being my go-to cupcake at bakeries, I had never tried to make them myself. This week I wanted to make Harry Potter themed treats to bring into work to… Continue reading Devil’s Food Cupcakes
Chocolate Chip Cookie #10
Last year I thought I had found the perfect chocolate chip cookie recipe. It was the Thick and Chewy Chocolate Chip Cookie recipe from America’s Test Kitchen. But the more I made it, the more I realized it was good, but that there had to be better recipes and cookies out there. I wanted something… Continue reading Chocolate Chip Cookie #10
Cream Cheese Chocolate Cupcakes
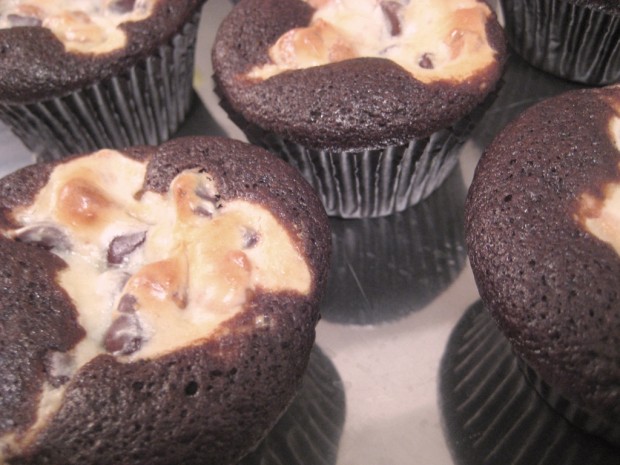
I found this recipe while looking through some older posts from How About Orange. They looked so good that I had to try them right away. I made them a few Sundays ago, and brought them into work the next day. They were a big hit. The cupcakes are delicious and don’t take very long… Continue reading Cream Cheese Chocolate Cupcakes
Cream Cheese Pound Cake
Making Pound Cake When I run on the treadmill at the gym, I like to watch movies on my iPhone. I’m out of digital copies of my movies for now, so I’ve been watching Martha Stewart’s free video podcasts from iTunes. Sometimes they are about cleaning, gardening, or crafts, but mostly they’re about cooking and… Continue reading Cream Cheese Pound Cake
Cream Cheese Frosting
I’ve tried two different recipes for Cream Cheese Frosting on my Red Velvet Cupcakes, and I prefer the recipe from Magnolia’s. It’s a bit sweeter without being overly sweet. It has the added bonus of not having sour cream as an ingredient, so that’s one less thing to buy. We nearly always have sour cream… Continue reading Cream Cheese Frosting
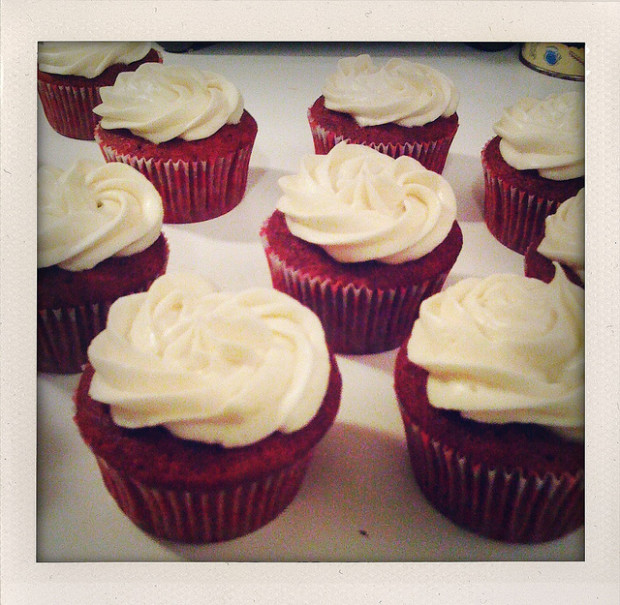
Red Velvet Cupcakes
Valentine’s Cupcakes I figured my next baking post should be about the best recipe I’ve made this year, so far: Red Velvet Cupcakes. I’ve made this recipe three times so far – twice as cupcakes and once as two mini two-layer cakes. It’s been delicious every time. It’s most delicious as cupcakes though – the… Continue reading Red Velvet Cupcakes
Quick Poll?
If I may, I’d love to request some feedback from anyone who reads (and presumably enjoys) my Vox blog. Over the past year I’ve developed a passion for baking. Not nearly as obsessive as my passion for books, but I do love to bake. :) Baking is a very fun hobby for me, and I’ve… Continue reading Quick Poll?
Weekend Baking – Strawberry Cake
Betty Crocker Pink Almond Party Cake A while ago I saw this photo of a Pink Almond Party Cake from Betty Crocker. I absolutely loved how cute it looked – the pretty pink inside and the snow white frosting. The pink cake reminded me of strawberry cake that my family used to make a long… Continue reading Weekend Baking – Strawberry Cake
Weekend Baking: Oatmeal Chocolate Chip Cookies
Oatmeal Chocolate Chip Cookies I used a recipe from my new baking cookbook, Baking Illustrated. It’s by America’s Test Kitchen, and I absolutely love their recipes because they always turn out amazing. You can buy a copy of Baking Illustrated here. These Oatmeal Chocolate Chip cookies turned out excellent, tasty and very chewy and moist.… Continue reading Weekend Baking: Oatmeal Chocolate Chip Cookies
Magnolia Bakery Cupcakes
Cupcakes My favorite cupcake bakery in New York is Magnolia Bakery. They are little cups of heaven. I used to think my favorite kind was vanilla with chocolate frosting (the same as my favorite kind of cake, in general) but after trying the Vanilla/Vanilla ones I’ve decided those are my favorites. I also loved the… Continue reading Magnolia Bakery Cupcakes